

Featured, Component Handling, ESD Packaging Resources, ESD Standards & Compliance
Before You Seal the Box: 5 Checks for Shipping Electronic Components
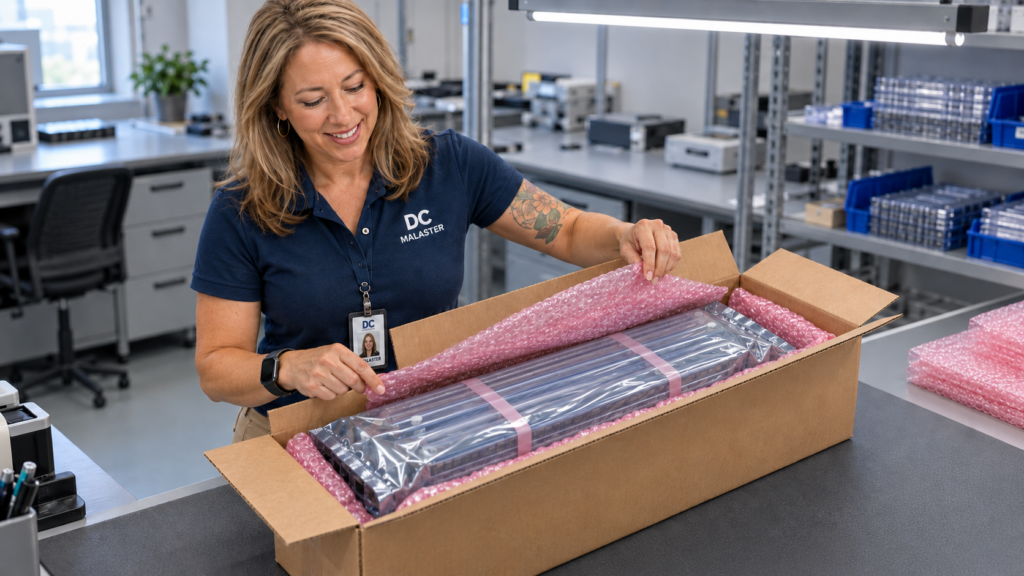
Sep
A neatly packed box is satisfying. Before the tape goes on, though, I want to know what is happening inside it: how the components are supported, what touches them, and whether that protection will hold up through shipping and unpacking.
Shipping electronic components takes more than a snug carton. A well-cushioned package can still contain a loose device or have the wrong electrostatic discharge (ESD) protection. Those details are easier to address at the packing bench.
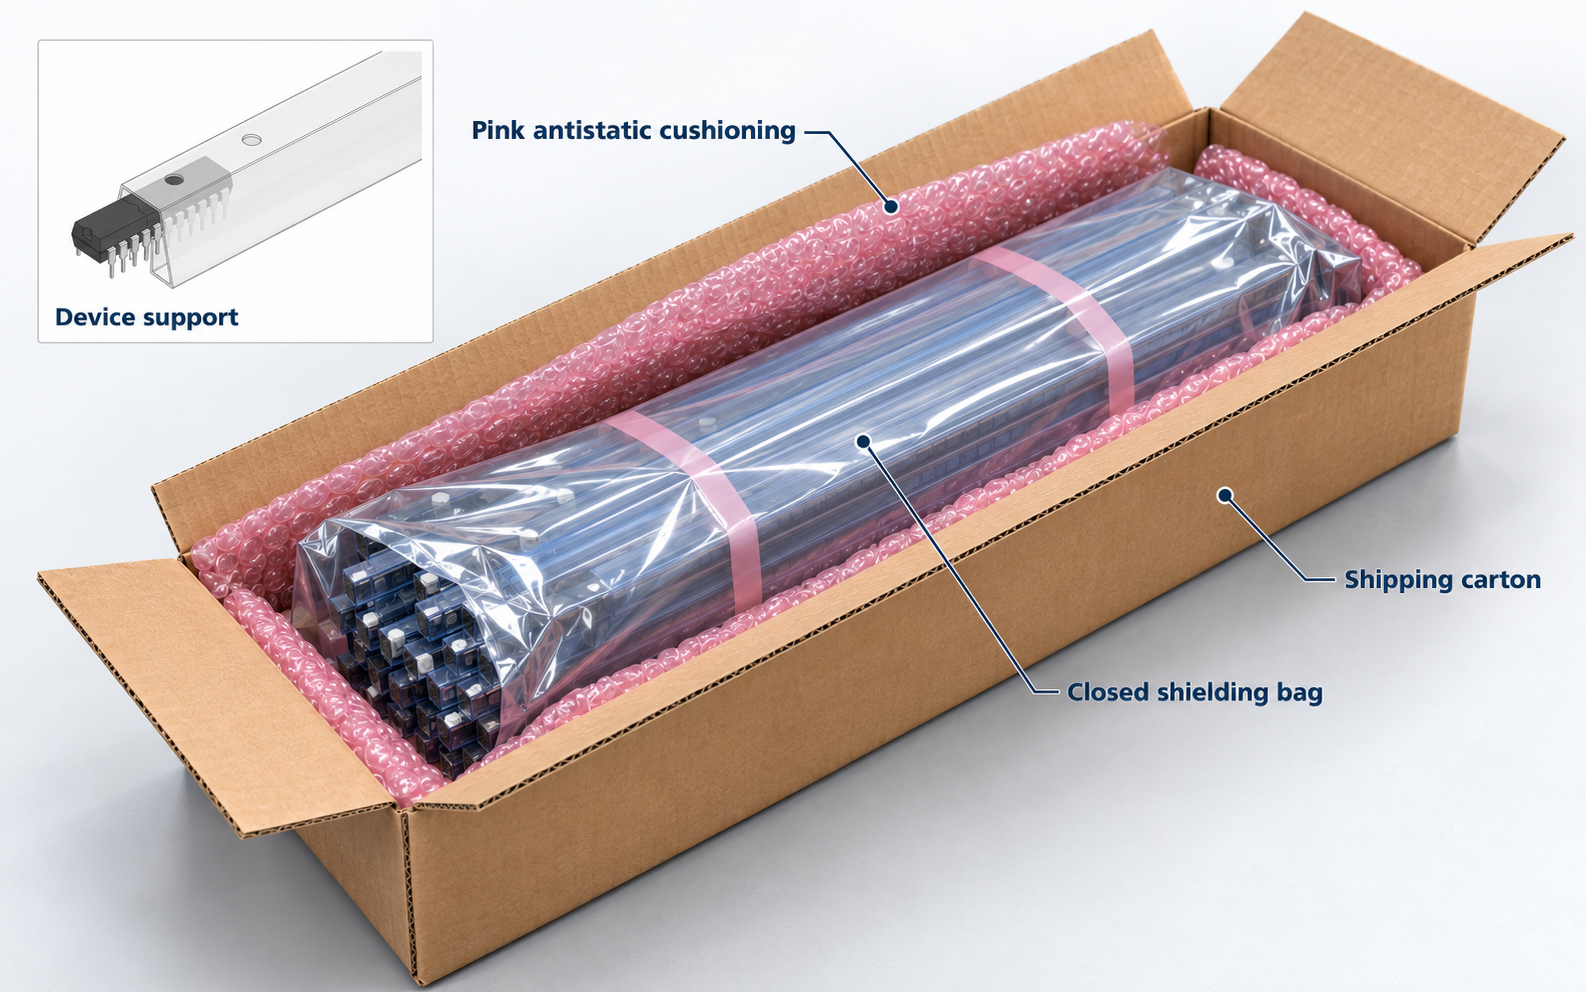
For these five checks, picture a customer shipping dual in-line package (DIP) ICs using Malaster packaging: loaded tubes gathered into a bundle, secured with pink ESD rubber bands, and enclosed in a shielding bag. Bubble sheets cushion the bagged bundle inside the carton. Start with the approved packaging requirements for the job.
1. Are the parts supported throughout the package?
I start at the component and work outward.
An IC shipping tube needs to match the actual device geometry. In the DIP profile shown here, the center support sits beneath the device body, with clearance for the leads along the sides. Check that the device sits and travels as intended without catching or loading delicate features.
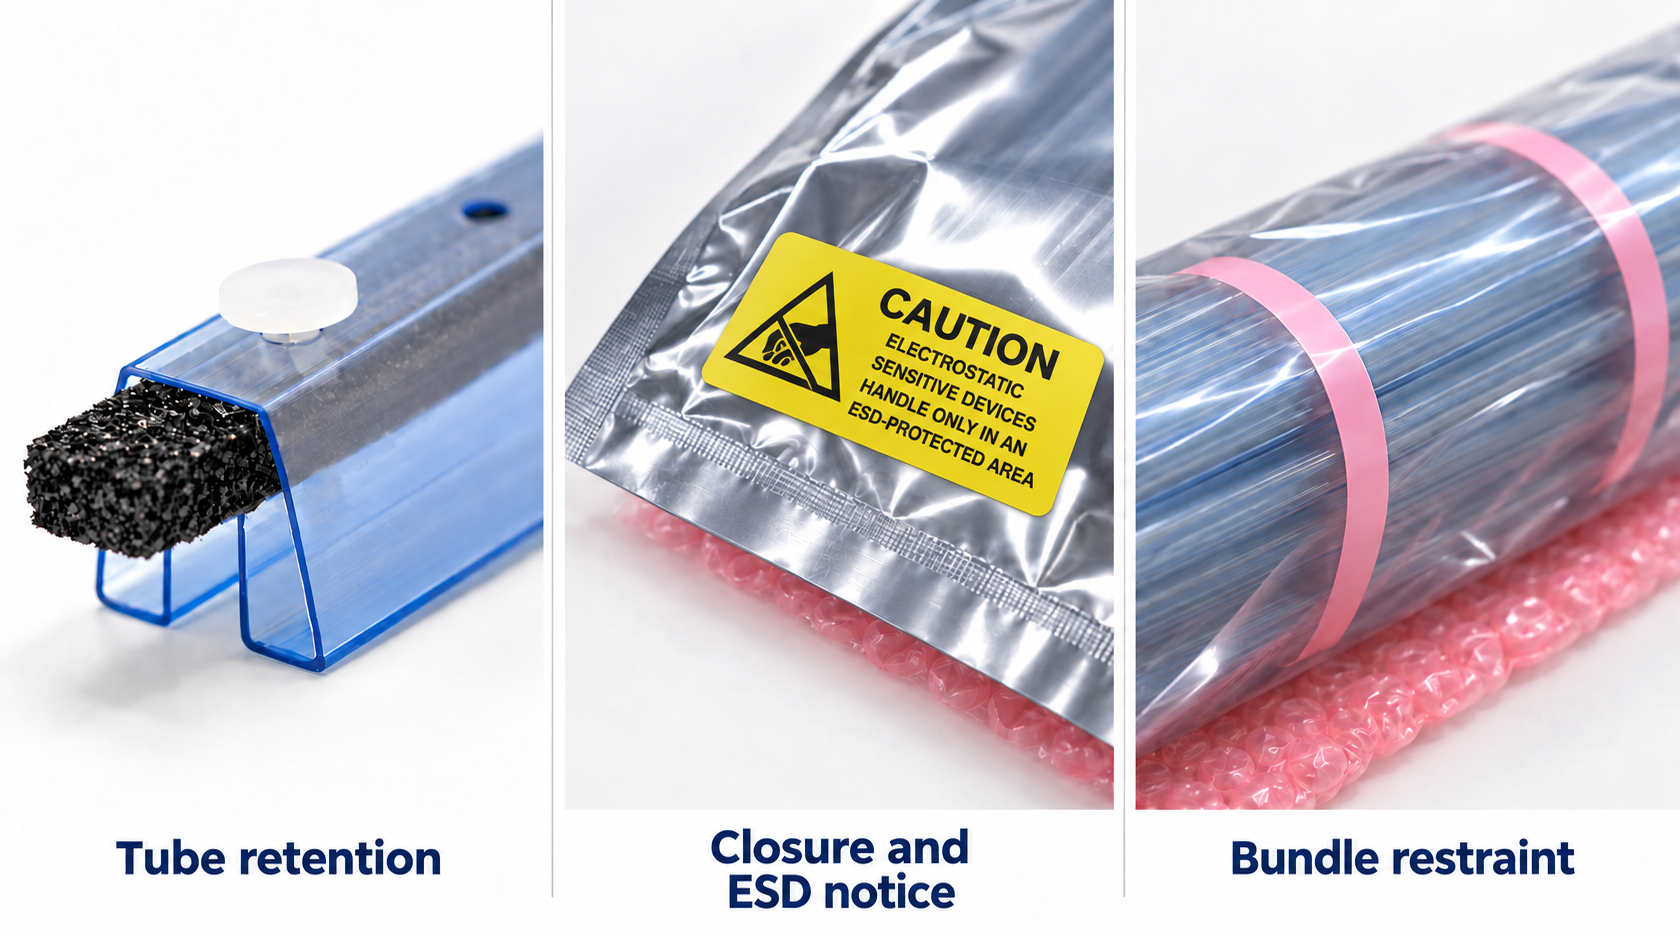
Then check end retention and unused tube length. A pin or plug can keep devices inside while still leaving room for them to slide. A compatible filler or stop may be needed to control that travel. Select the retention arrangement for the tube and device; fillers, pins, and plugs each have a job.
The components already have a journey ahead. They do not need extra travel inside the box.
2. Is anything pressing where it shouldn’t?
Once movement is controlled, I look at contact points.
A hand-gathered tube bundle naturally has an uneven outline. The individual tubes can sit at different rotations while each device remains correctly oriented in its own carrier. The bands should hold the bundle together without bowing or crushing the tubes.
The same check applies to trays and foam inserts: support the intended areas, preserve clearance around fragile features, and check what changes when the lid closes. Foam firmness and electrical properties are separate selection decisions.
For this tube bundle, the example carton is 21″ × 6″ × 6″, planned around one or two layers of bubble sheets. Confirm the fit using the actual bundle and bubble thickness. Cushion the bottom, sides, ends, and top without forcing the carton closed. The top sheets are folded back in the illustrations for inspection; return them to position before closing.
3. Does the ESD protection match the journey?
My next question is where the components will be handled after packing.
For ESD-sensitive items leaving an ESD protected area, the packaging system needs discharge shielding, along with appropriate low-charging materials and conductive or dissipative properties for direct contact. The EOS/ESD Association’s packaging guidance explains this distinction.
In this example, the properly selected, intact, closed shielding bag provides the discharge-shielding enclosure. The pink antistatic bubble wrap outside it cushions the shipment and helps limit charge generation. It does not add another discharge-shielding layer, and color alone cannot verify electrical performance.
Standard bubble wrap may also be an option outside the closed shielding bag, depending on the approved packaging requirements and cost. Pink bubble wrap is commonly customer-sourced; Malaster does not typically supply it.
If the devices require dry packing, check those requirements separately. A standard shielding bag is not automatically a moisture-barrier bag.
4. Are the closures and materials ready for shipment?
This is where I slow down for the small details.
The full bundle, including both retaining bands, belongs inside the shielding enclosure. Leave enough room for the specified closure and inspect the bag for punctures, tears, damaged seams, and tube ends pressing against the film. Staples can puncture shielding layers; use the closure method specified for the bag and process.
The detail image shows a heat-sealed example. The right method for another package depends on its construction and requirements. Check the entire closure, not just the easiest part to see.
Confirm that tube pins or plugs are engaged, fillers remain in position, and bands are sound and correctly fitted. Visual inspection catches physical problems; material qualification and required testing establish electrical performance.
5. Are identification, ESD notices, and unpacking instructions clear?
I think about the receiving bench before finishing at the packing bench.
Make the part number, quantity, and required lot or date-code information readable without opening the protective enclosure. Keep different parts and lots clearly identified, and include any required moisture-sensitive handling information.
Check the ESD notices required by the customer’s purchase order, drawing, or packaging specification, along with the shipper’s ESD control program. Verify the required symbol and wording, the packaging levels that need marking, and whether the notice is visible before opening. ESDA discusses the need to address packaging and marking requirements as part of the ESD control process.
A contents-sensitivity warning and an ESD-protective material symbol communicate different things. ESDA’s symbol guidance distinguishes them. A bag’s protective-material marking may not satisfy a customer’s handling-notice requirement. The yellow label shown is an example; use the notice specified for the shipment and keep it clear of the closure and product identification.
Think through removal, too. The recipient needs a practical way to release the package without pulling on leads or prying against fragile edges. Open the shielding enclosure and handle exposed ESD-sensitive devices under the appropriate ESD controls.
Final checks before shipping electronic components.
My final pass is straightforward:
- Support: devices and carriers are restrained as intended.
- Contact: bands, inserts, and cushioning preserve the required clearances.
- ESD protection: the materials and closed enclosure suit the journey.
- Closures: retention features, bag closure, and carton are ready.
- Receiving: identification, required notices, and opening instructions are clear.
For a new component, quantity, or packaging arrangement, confirm the complete pack through the fit checks and transport testing appropriate to the application before making it the standard.
